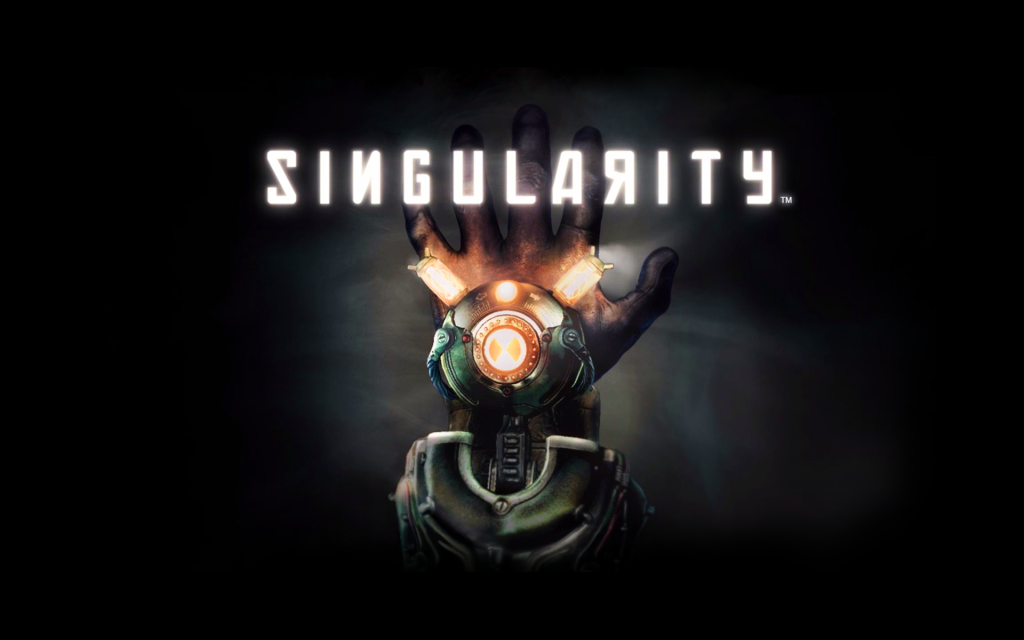
At first we decide to make a 90-120 seconds Cthulhu style CG film. After we disgussed and evaluated the time cost and schedule, we finally decided to make a 60 seconds Cthulhu style cinematic CG trailer.
I asked Yaozhang to write the inital story for our trailer. After he finished it I added more detail to his script. Then we held a meeting to adjust the whole script together and finally confirmed it.
Here is a brief of our story:
Year 2025, the organization detects that an abnormal radiation signal is expanding in the restricted area. Several inspectors have been sent to the area to investigate the signal and collect evidence, but the base losts their contact soon. Therefore, the organization asks two inspectors to continue collecting evidence and try to find the investigation team. The investigation goes well at the beginning. However, as the investigation expanded, inspectors find some bodies of the investigation team. They also find a mysterious cave inside the aabandoned area. After entered in the cave, they realized that there is some mysterious forces inside the area……
After that we started to make our storyboard. We finished our own storyboard individually.
Then we shared our storyboard and selected some of the shots that we want. Zhenzhong then edited these shots together and added a background music to it. This can be considered as the prototype of our trailer:
Prototype
Modeling
After finished storyboard and the prototype, we started to make assets and build the environment. Zhenzhong is responsible for the character modeling and Ziyin is responsible for the monster eye modeling.
Texturing
As I mentioned before, Zhenzhong is responsible for the character texturing and Ziyin is responsible for the monster eye texturing. Me and Yaozhang gathered some textures from quixel to build the environment.
Rigging
I started to rig these character after Zhenzhong and Ziyin finished modeling. What I did is rigging two characters body and the creature eye. I also did a simple rig for the Geiger counter, which is an important prop in our project.
Environment Layout & Lighting
Me and Yaozhang started to build environments in Unreal Engine and Maya when Zhenzhong and Ziyin focusing on their modeling. I totally made 5 scenes, while Yaozhang focusing on the other four scenes. All these scenes covers about 12 shots.
To speed up the process, we gathered some assets and textures in quxiel bridge and unreal store and used them to build our scene. I also use Houdini to make landscapes and cave. It tooks us several weeks to finish the layout of environment and lighting. The result is quite satisfying.
Animation
Ziyin did the animations in our scenes. It only took us about one week to finish the animation and the result is fine. After imported these animations to Unreal Engine, me and Yaozhang prepared several camera sequences in each scene so that we can render out several versions of shots and choose which shots that we want when editing.
Rendering & Compositing & Editing
Herman told us that we need to do our compositing and editing separately. Therefore, we rendered out three to four versions for each shot in Unreal Engine. At the sametime, Zhenzhong finished the title sequences for us. He also made the editing template for us in PR, which is quite useful.
After finished rendering, we did our trailer compositing and editing separately. It is quite interesting that we did our own version of the trailer. The colors and the rhythm of each trailer is quite unique.
Reflections
From my point of view, this project is quite interesting. We used a combination of several techniques to finish our trailer. What’s more, we explored unreal engine and other techniques, which can be one of the biggest challenges in this project. The combination of maya and unreal workflow can significantly speed up our process, which is handy and useful.
Since the time is quite limited, some parts of this project don’t have enough time to be polished. As for me, I think we can optimize our lighting and animation if we still have some time. Anyway, we achieved our goal in this project. We learned a lot and enjoyed ourselves in it.
This week I focused on rendering all the scenes that I am responsible for and compositing these shots.
Part of our shots are rendered in maya arnold and others are rendered in Unreal Engine.
I used Nuke to composite maya-rendered scenes. As for the UE scenes, I adjusted colors and contrast by using the post-process volume in Unreal Engine and then did a simple compositing in Nuke.
I chose greenish blue as the key color of these shots. Therefore, I used grade node and colorcorrect nodes to adjust the color and contrast. I also use the exported Z depth channel to add depth of field. After that I added motion blur, vignette and camera grain to these shots.
Color style that I want
After that I combined all the shots and edit them in PR. Zhenzhong has already set the initial editing file for us. Therefore, I can replace the assets in his file and finish the editing very quickly. I just changed part of shots length to make the rhythm more satisfiying. I also used slow motion and other methods to cover up some animation flaws.
Then I exported the finial video. The quailty of it is quite satisfying. I really like the rhythm and atmosphere in the final trailer. The final video will be posted on the submission post.
This week I focused on the setup of other shots that will be rendered in maya and adjust the lighting and textures in all scenes.
After Ziyin gave me the textures of the monster eye, I updated the monster scene and adjust the lighting and textures in the scene. I tried to turn down the lights so that the shot looks more scary than before.
I also setup the other scene in maya. I did a simple rig for the counter so that the pointer on the counter can be animated. The scene setup didn’t take much time to finish.
Here is a render and compositing test for the scene:
Next week we will finish all the animations in this project and start rendering and compositing. We will try to finish this project at the end of next week.
This week I finished the eye rig for the monster and build the scene for our final shot in maya.
I started to rig the eye after Ziyin finished the modeling of it. The set of eye rig is not conplicated, which has eyelid controls, IK&FK eye controls and global controls. I added an offset group beyond the eyelid skeleton so that it can control the offset of eyelid when eye direction changed. I also added several blendshapes to correct the wrong deformations in this rig. Since the time is limited, I only added about ten blendshapes. The eye rig can be more flexible and realistic if I add more blendshapes on it.
A test for the eye rig:
I also rigged the pupil so that it can be zoom in or out:
After finished the rig, I started to build a simple scene for the final shot.
I build a simple background (cave) by using several noise nodes in Houdini. After that I import it into maya and use quixel bridge assets to build the foreground and midscene. After that I import all the rigs with textures inside this scene to do some layout and lighting. I want the monster eye hiding inside the darkness and character’s flashlight shooting towards it. The atmosphere must have some fog/smoke so that it can show the direction and shape of the light (Tyndall effect)
This week I finished character rigs for project01.
Since the time is quite limited, I choose to use ADV rig plugin as the tool to rig these characters. The setting of the rig is quite simple, I just need to make sure that the rig has a good skin weight and can be exported to game engines.
The painting of skin weight took me some time to finish. Our character has too many props on his body so that some of the skin weights are hard to deal with, especially the armpit and neck areas. I finally solved problems and finished the body rig.
Here is a walking test in ADV. Only a little bit of mesh crossing problem can be seen in the test, which is just fine:
Another character is the main character’s partner. Both of these characters wore same clothes. Therefore, I asked Zhenzhong to just replace the second character’s head so that I can easily copy the skin weight from the main character to the second one.
It took me 2-3 days to finish these characters’ rig. The next part is to finish the monster’s eye rig. What’s more, I will export the environment to maya this week so that we can start to make our animations and cameras.
This week I finished the third scene in our trailer: the restricted area scene. This is the first version of it and will be adjusted in the next week.
The whole process of making the restricted scene is quite same as the other two scenes. Since we have already find the proper references and finished the storyboard, I can focus more on the layout and lighting of the scene.
I firstly find some references for this scene and try to feel the atmosphere inside of them:
Most of these scenes show the same two features: a little bit of artificial traces and foggy air.
I listed several compotents in this restricted area scene:
Foreground: Tree stump, wreckage, barbed wire, grass, branches, rocks.
Based on this list, I gathered some assets and made part of props by myself (barbed wire, mountains, rocks). I then layout the whole scene in unreal engine, trying to provide a sense of desolation and stillness in it.
Here is the final result:
Next week I will optimize these three scenes, especially the forest scene. I’ll add more details to the foreground and adjust lights.
I used Houdini to build up the frame of cave and background mountains first, which can easily control the shape of the cave. After that I sent it to unreal engine to build up other parts of the environment.
I used the same techniques that I have tested in the last scene to build the scene. This time I mostly focus on details and the layout of the scene. Based on the storyboard and refereneces, the cave should be deep enough to show a sense of mystery. What’s more, the scale of the cave should be large enough to show a better composition of the whole shot.
I added three layers of textures on the landscape to make sure there are enough details on the ground. Then I added some branches and small rocks to push the details to another level.
Below is the test shot for the scene. The LOD of the landscape hasn’t been removed successfully. I will figure it out next week.
This week I started to build our scenes. After discussing with Yaozhang, I choose to build the forest scene, cave scene and the restricted area scene.
There are about 6-7 scenes that we need to build for the whole trailer. The forest scene is one of the most important scenes and it is a little bit easier to be approached. Therefore, I made a pre-version of the forest to test the result.
The aspect ratio that we chose is 2.4:1, which can bring a great sense of cinematic to the shots. I gathered some textures and models to build up the scene and lightened the scene by myself. The landscape is made by unreal landscape tools and houdini, and shaded with a blended material. It is still the first version of the scene and the quality can be improved later.
I animated a camera to test the shot. The mp4 smoke sequence works not well at the beginning. I changed the media texture to exr files and solved the problem.
The testing result is fine, which doesn’t take much time to be built and rendered. However, I still think the lighting can be improved and the forest is still not dynamic enough. One of the biggest problem is the size of the file and scene optimization, which are some main issues that I need to fix in next week.
This week we had the second meeting and finally selected some key shots for our film. Then Zhenzhong finds some music for the film and made a short cut for our shots as a reference for our future works. Most of these shots can be finished in UnrealEngine, and few of them (for example, close-ups) need to be done in Maya and Arnold.
After that we started to make assets. Me and Yaozhang will focusing on the environment of shots, while Zhenzhong and Ziyin will focusing on the character and props.
I decide to to some research on UnrealEngine and find out which techniques that we need in these shots. I will start to layout the environment after I fully prepared the UnrealEngine.
What may covered in our shot is forest layout, terrain layout, texturing, lighting and some simple effect like dust or smoke. I learned how to make fake smoke in Unreal Engine by using exr sequences and customed textures. With the combination of fake smoke and UE build-in height fog, we can easily create the atmosphere that we want.